Orange Checkerboard Cake

DSC_1555

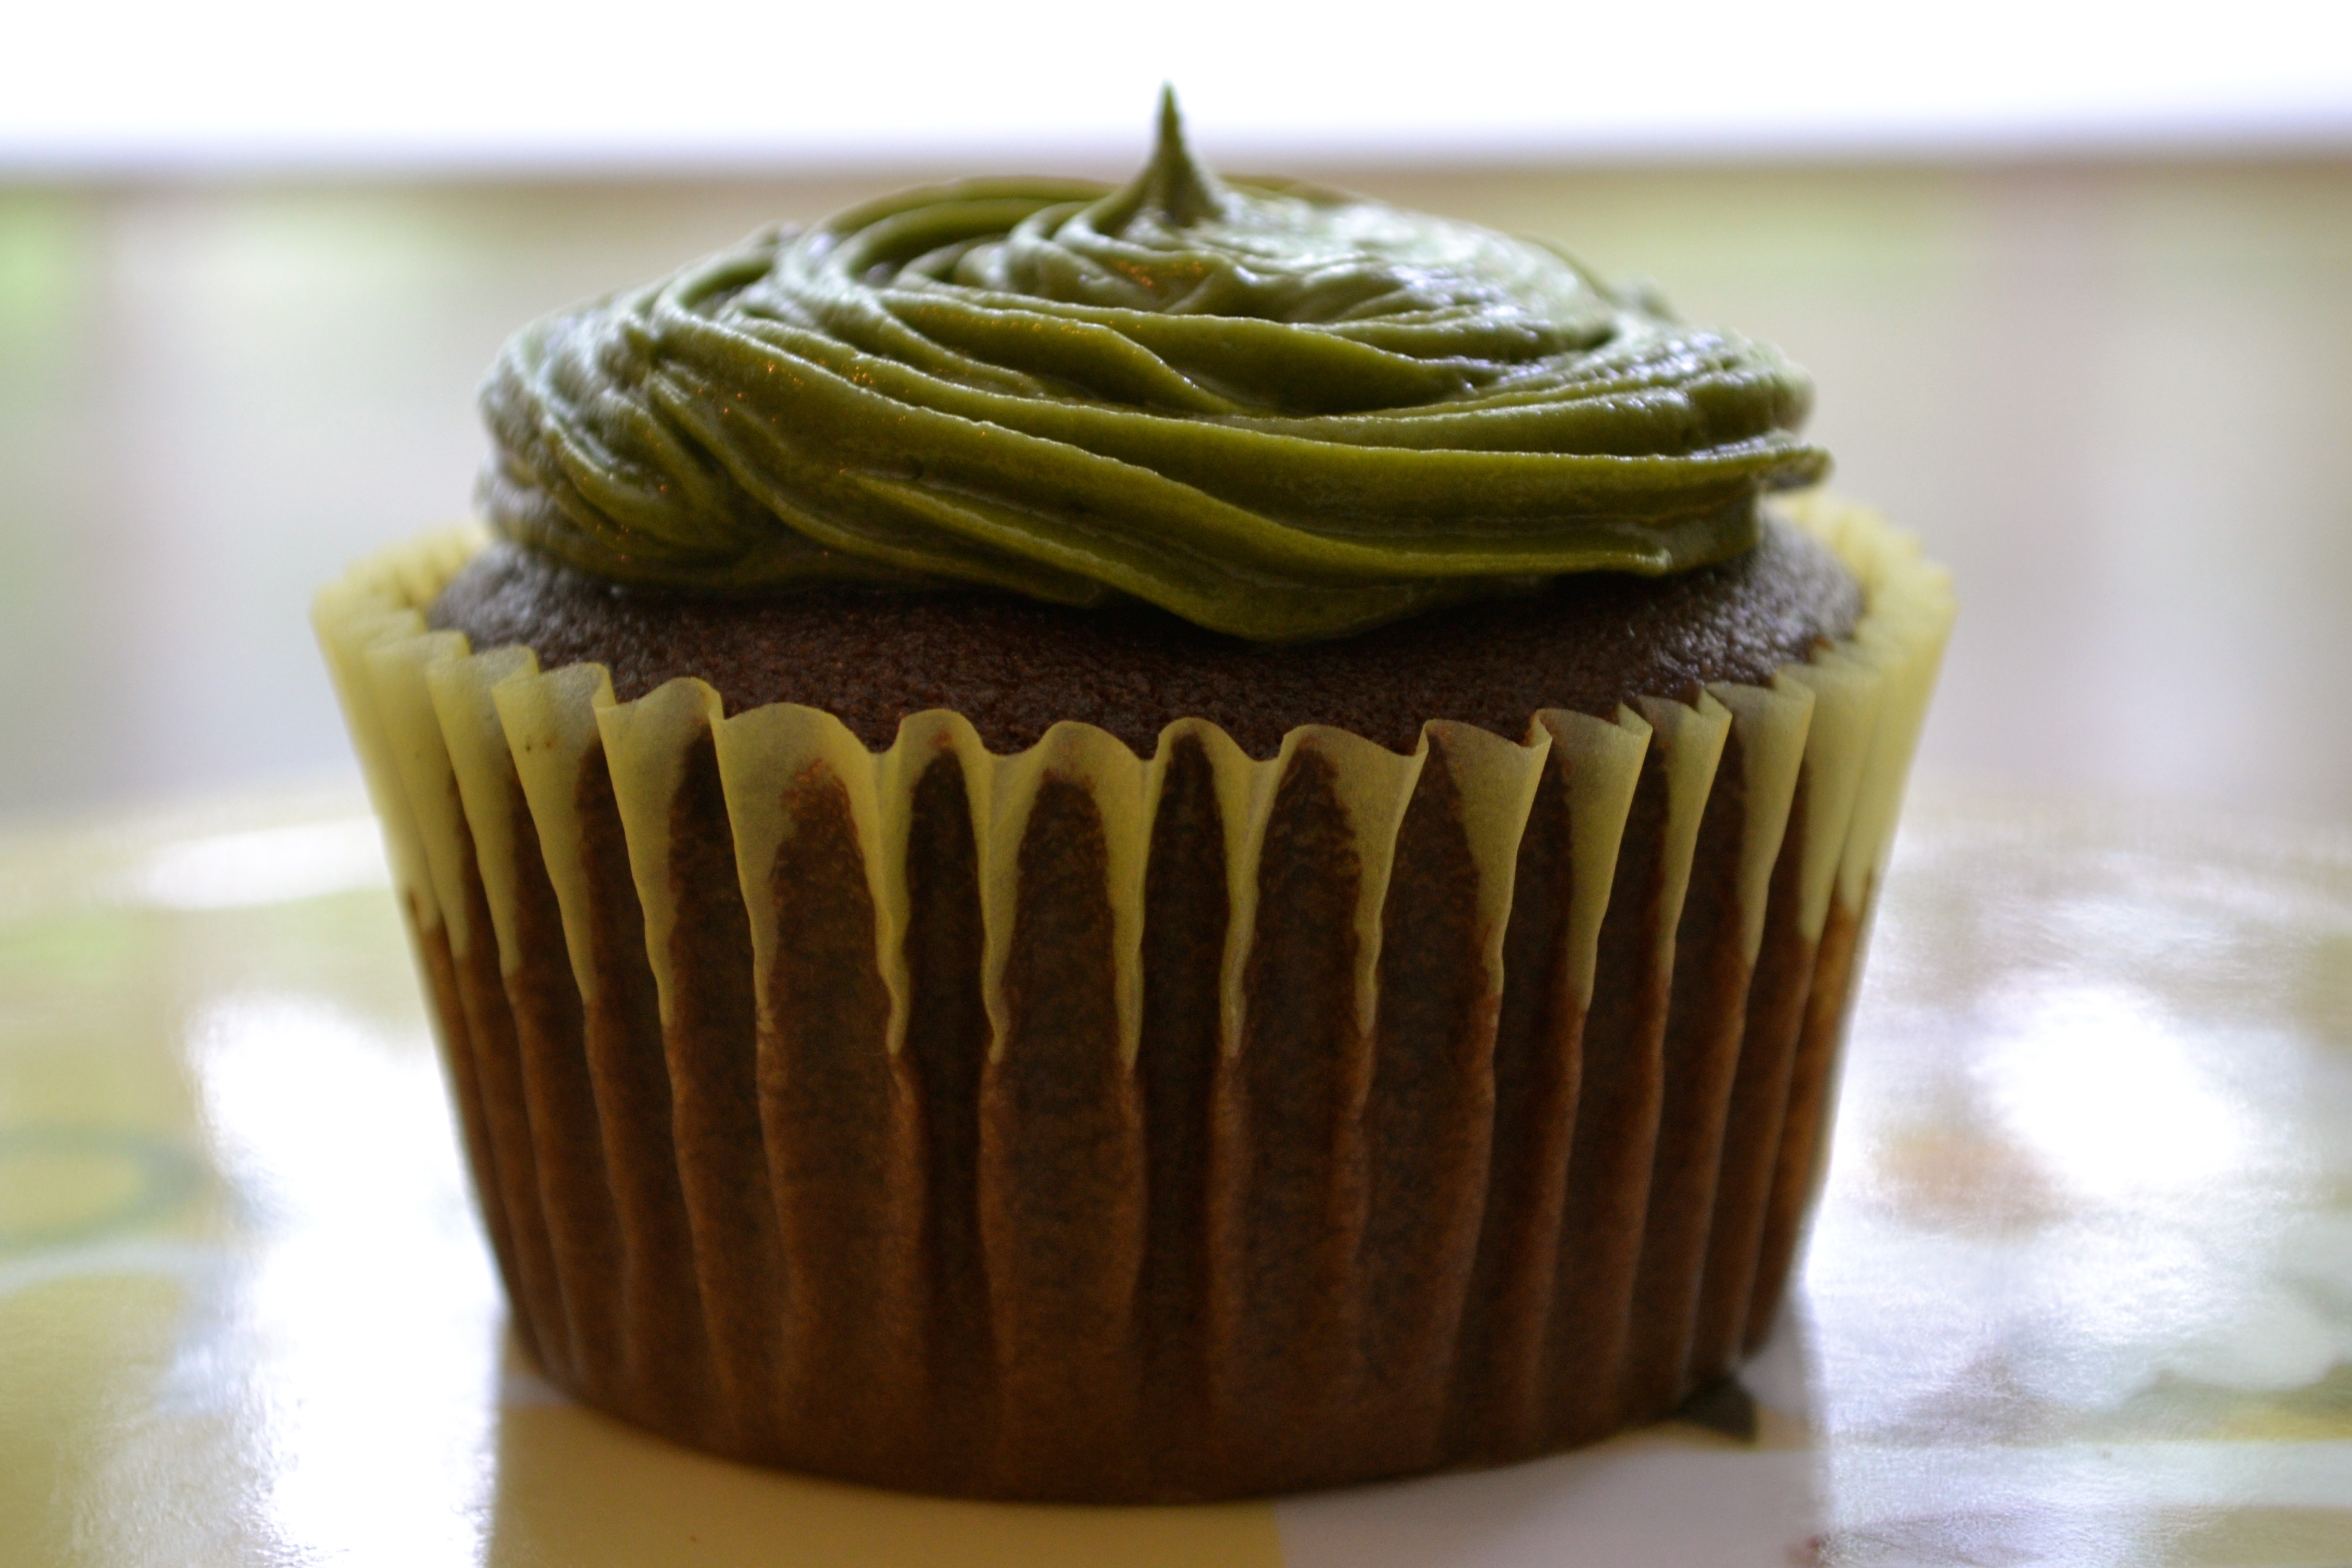
Would you look at that? It’s the end of May. And that means, that 1) temperatures are starting to heat up, and 2) it’s my mother’s birthday. As usual, I was tasked with making the birthday cake. So, naturally, I was going to pick something that I liked…er, I mean, something that mom likes. I thought it would be nice to make a fruity and light cake, since it is beginning to feel like summer. I’ve also been obsessed with checkerboard cakes. Although oranges aren’t quite in season, I remembered that I had one more in the refrigerator and how well the orange chocolate cupcake were from a few months ago, and decided to adapt that recipe.

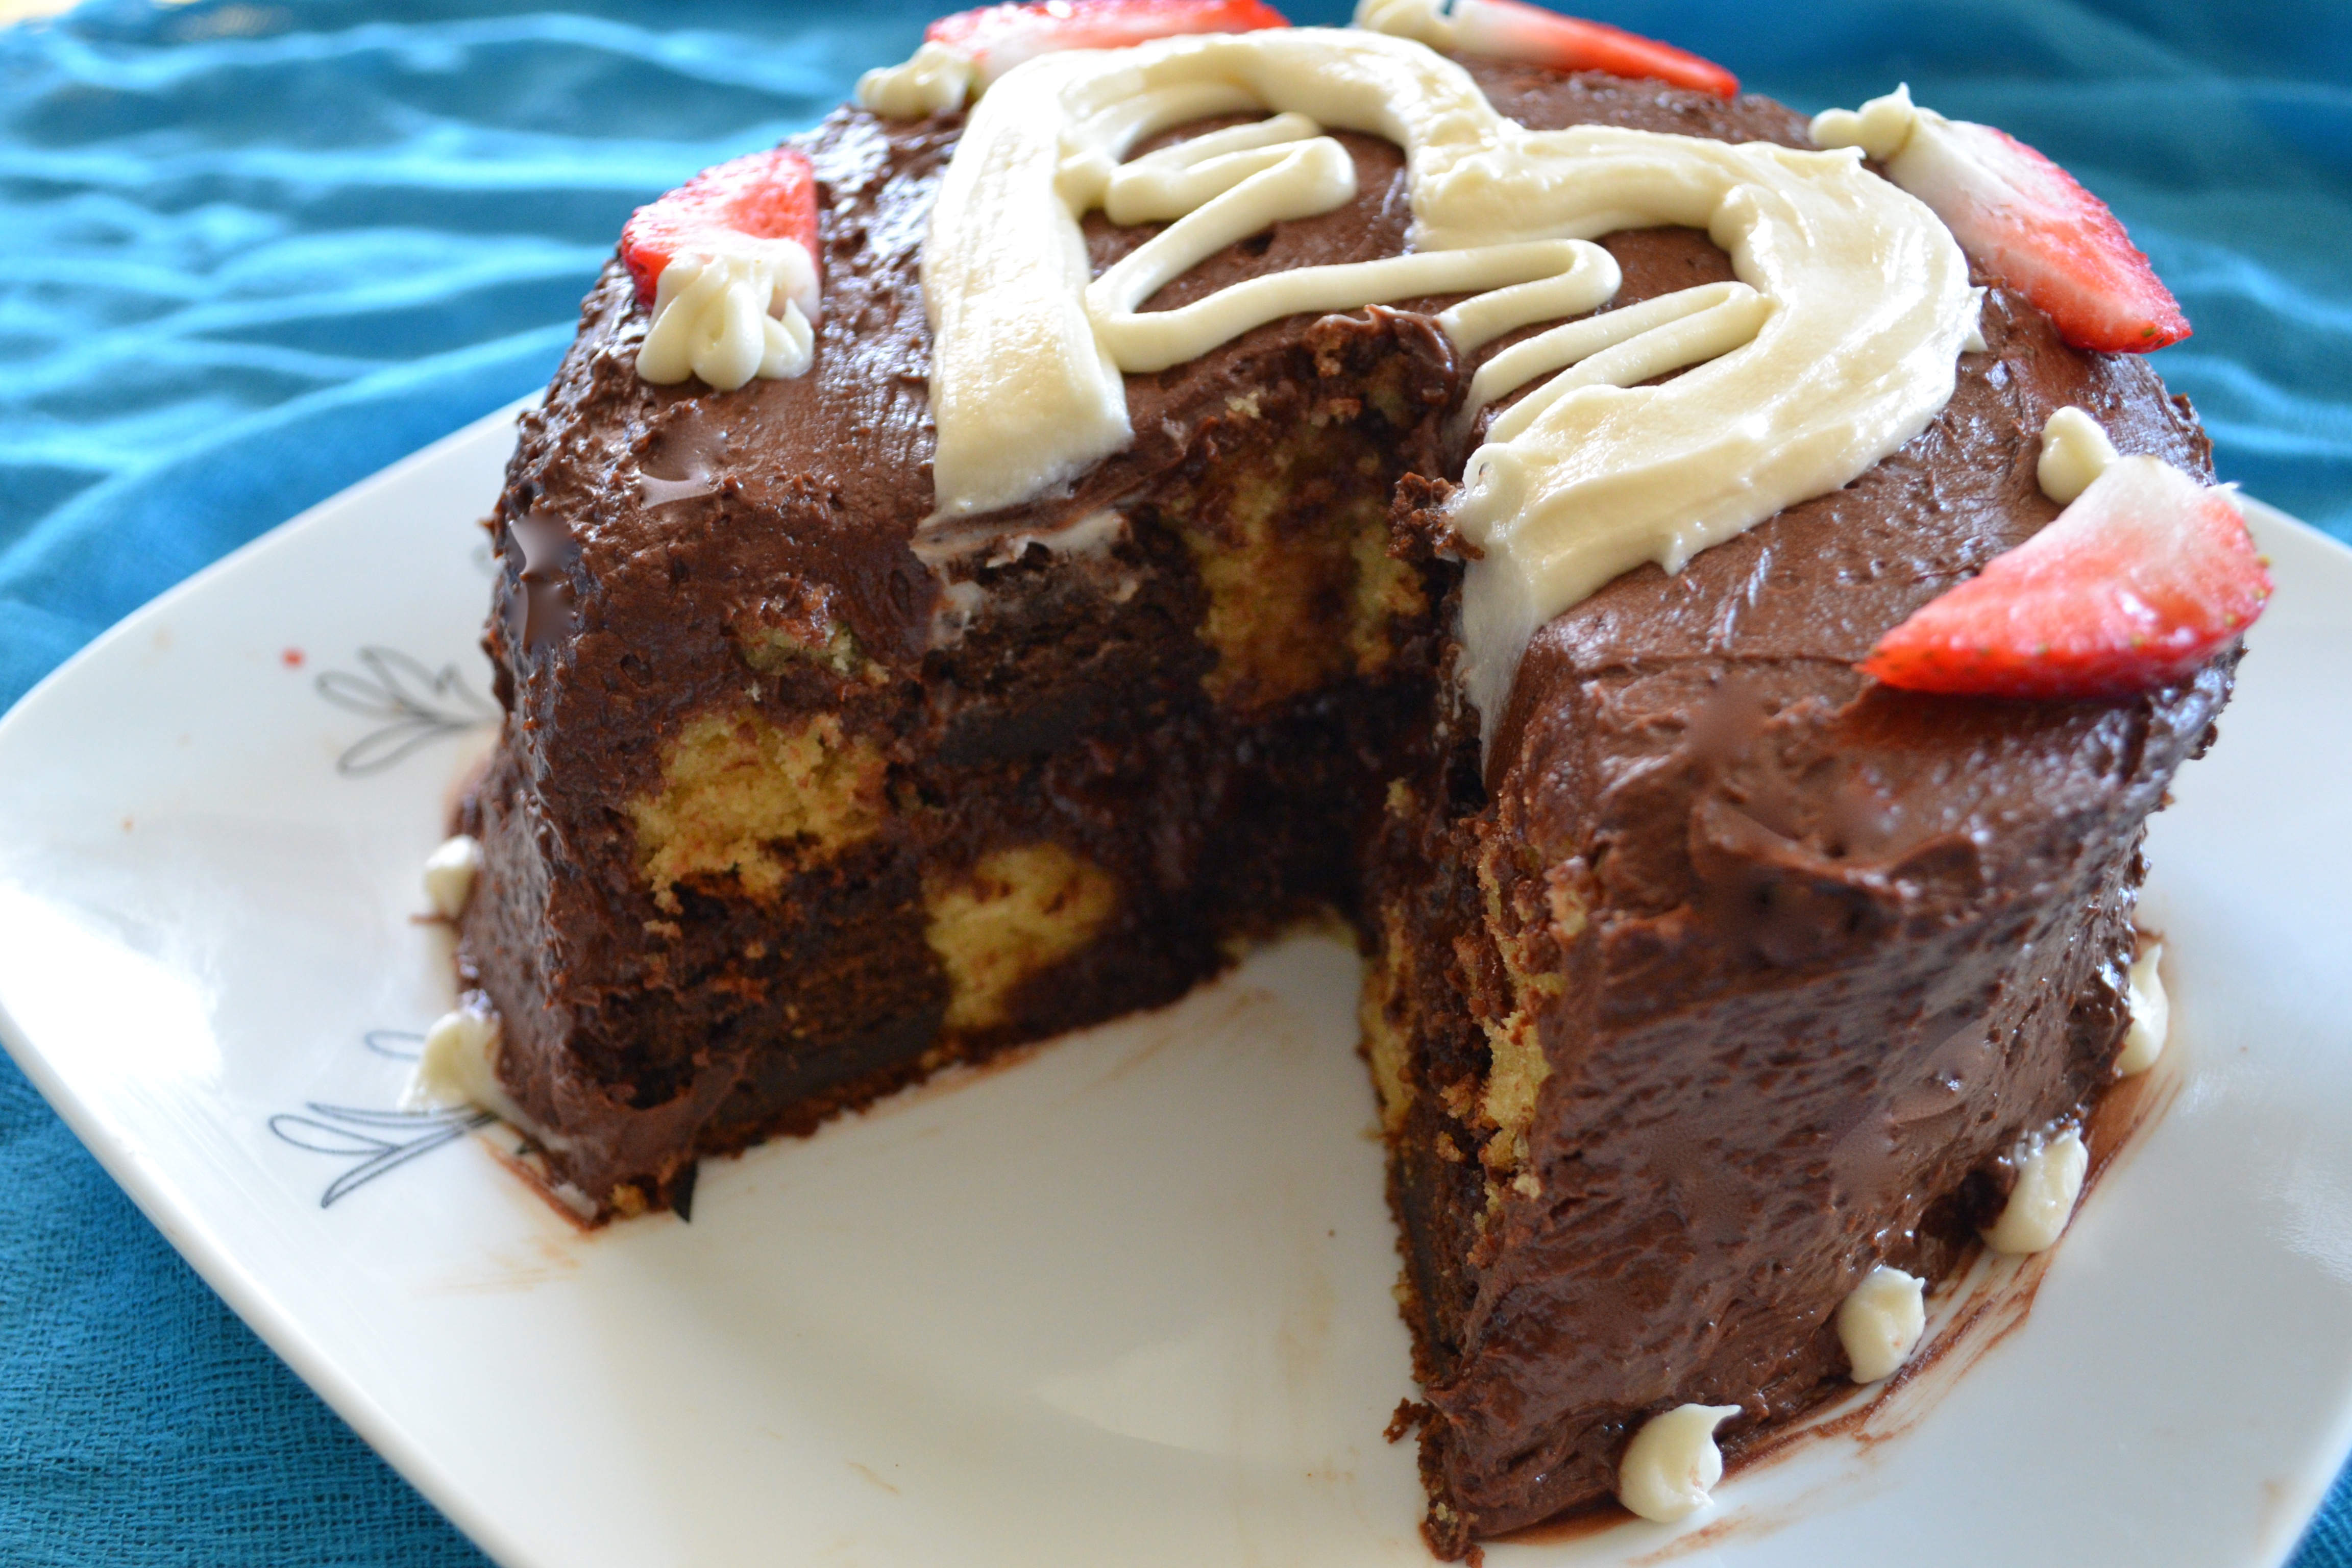
I’ve now made the checkerboard cake a few times, and I have definitely improved every time (there is less yelling at the cake to tell it to hold together 🙂 ). You can either use a special pan that has dividers and pour the batter, alternating the batter. However, I like to make two separate cakes, and then cut the cakes into rings to alternate it. You use frosting to glue the cakes together, giving it a clean look.

I love baking because it’s truly the intersection of art and science. I still have yet to invest in cookie cutter rings, where you can simply press down to create the rings. Instead, I’m sticking to a homemade engineered way of using a ruler anchored down by a straw as a protractor and cutting around in a circle. The key is patience and a steady hand. That, and well, ensuring that your cake has completely cooled and settled; otherwise, every cut will end in a crumbly mess on the ground with ants invading. Ok, sorry, that escalated quickly. Moving on…

My mom said that she enjoyed this cake, as it wasn’t too sweet. Of course, you can always add more sugar to your tasting. She liked that I used orange juice in the frosting instead of cream and vanilla. This gave the cake a more natural taste instead of an orange creamsicle flavor (which sounds tasty nonetheless). I really don’t like to use food coloring and opted out of adding it to the orange frosting. The only added color was to the lettering ‘Happy birthday mama,’ which I used a dash of grenadine.

Happy baking!

Xoxo,
JJC

DSC_1550

DSC_1554

Recipe

Making the Cakes

Ingredients for 1 9-inch vanilla cake
1 1/2 cup all-purpose flour
1 teaspoon baking powder
1 teaspoon baking soda
1/4 teaspoon salt
1 cup buttermilk
1 teaspoon of vanilla extract
1/2 cup butter (1 stick), room temperature
3/4 cup sugar
2 eggs

Ingredients for 1 9-inch chocolate cake
1 1/4 cup all-purpose flour
1/4 cup unsweetened cocoa powder
1 teaspoon baking powder
1 teaspoon baking soda
1/4 teaspoon salt
1 cup of buttermilk
1 teaspoon of vanilla extract
1/2 cup of butter (1 stick), room temperature
3/4 cup of sugar
2 eggs

1. In a small bowl, whisk together the flour, baking powder, baking soda, and salt (plus cocoa powder for the chocolate cake)
2. In a measuring cup, combine the buttermilk and vanilla extract.
3. In a large bowl, cream the butter and sugar until light and fluffy.
4. Add the eggs to the mixture one at a time.
5. Add the flour mixture and the liquids alternately, beating well after each addition. Consistency should be similar to a pudding.
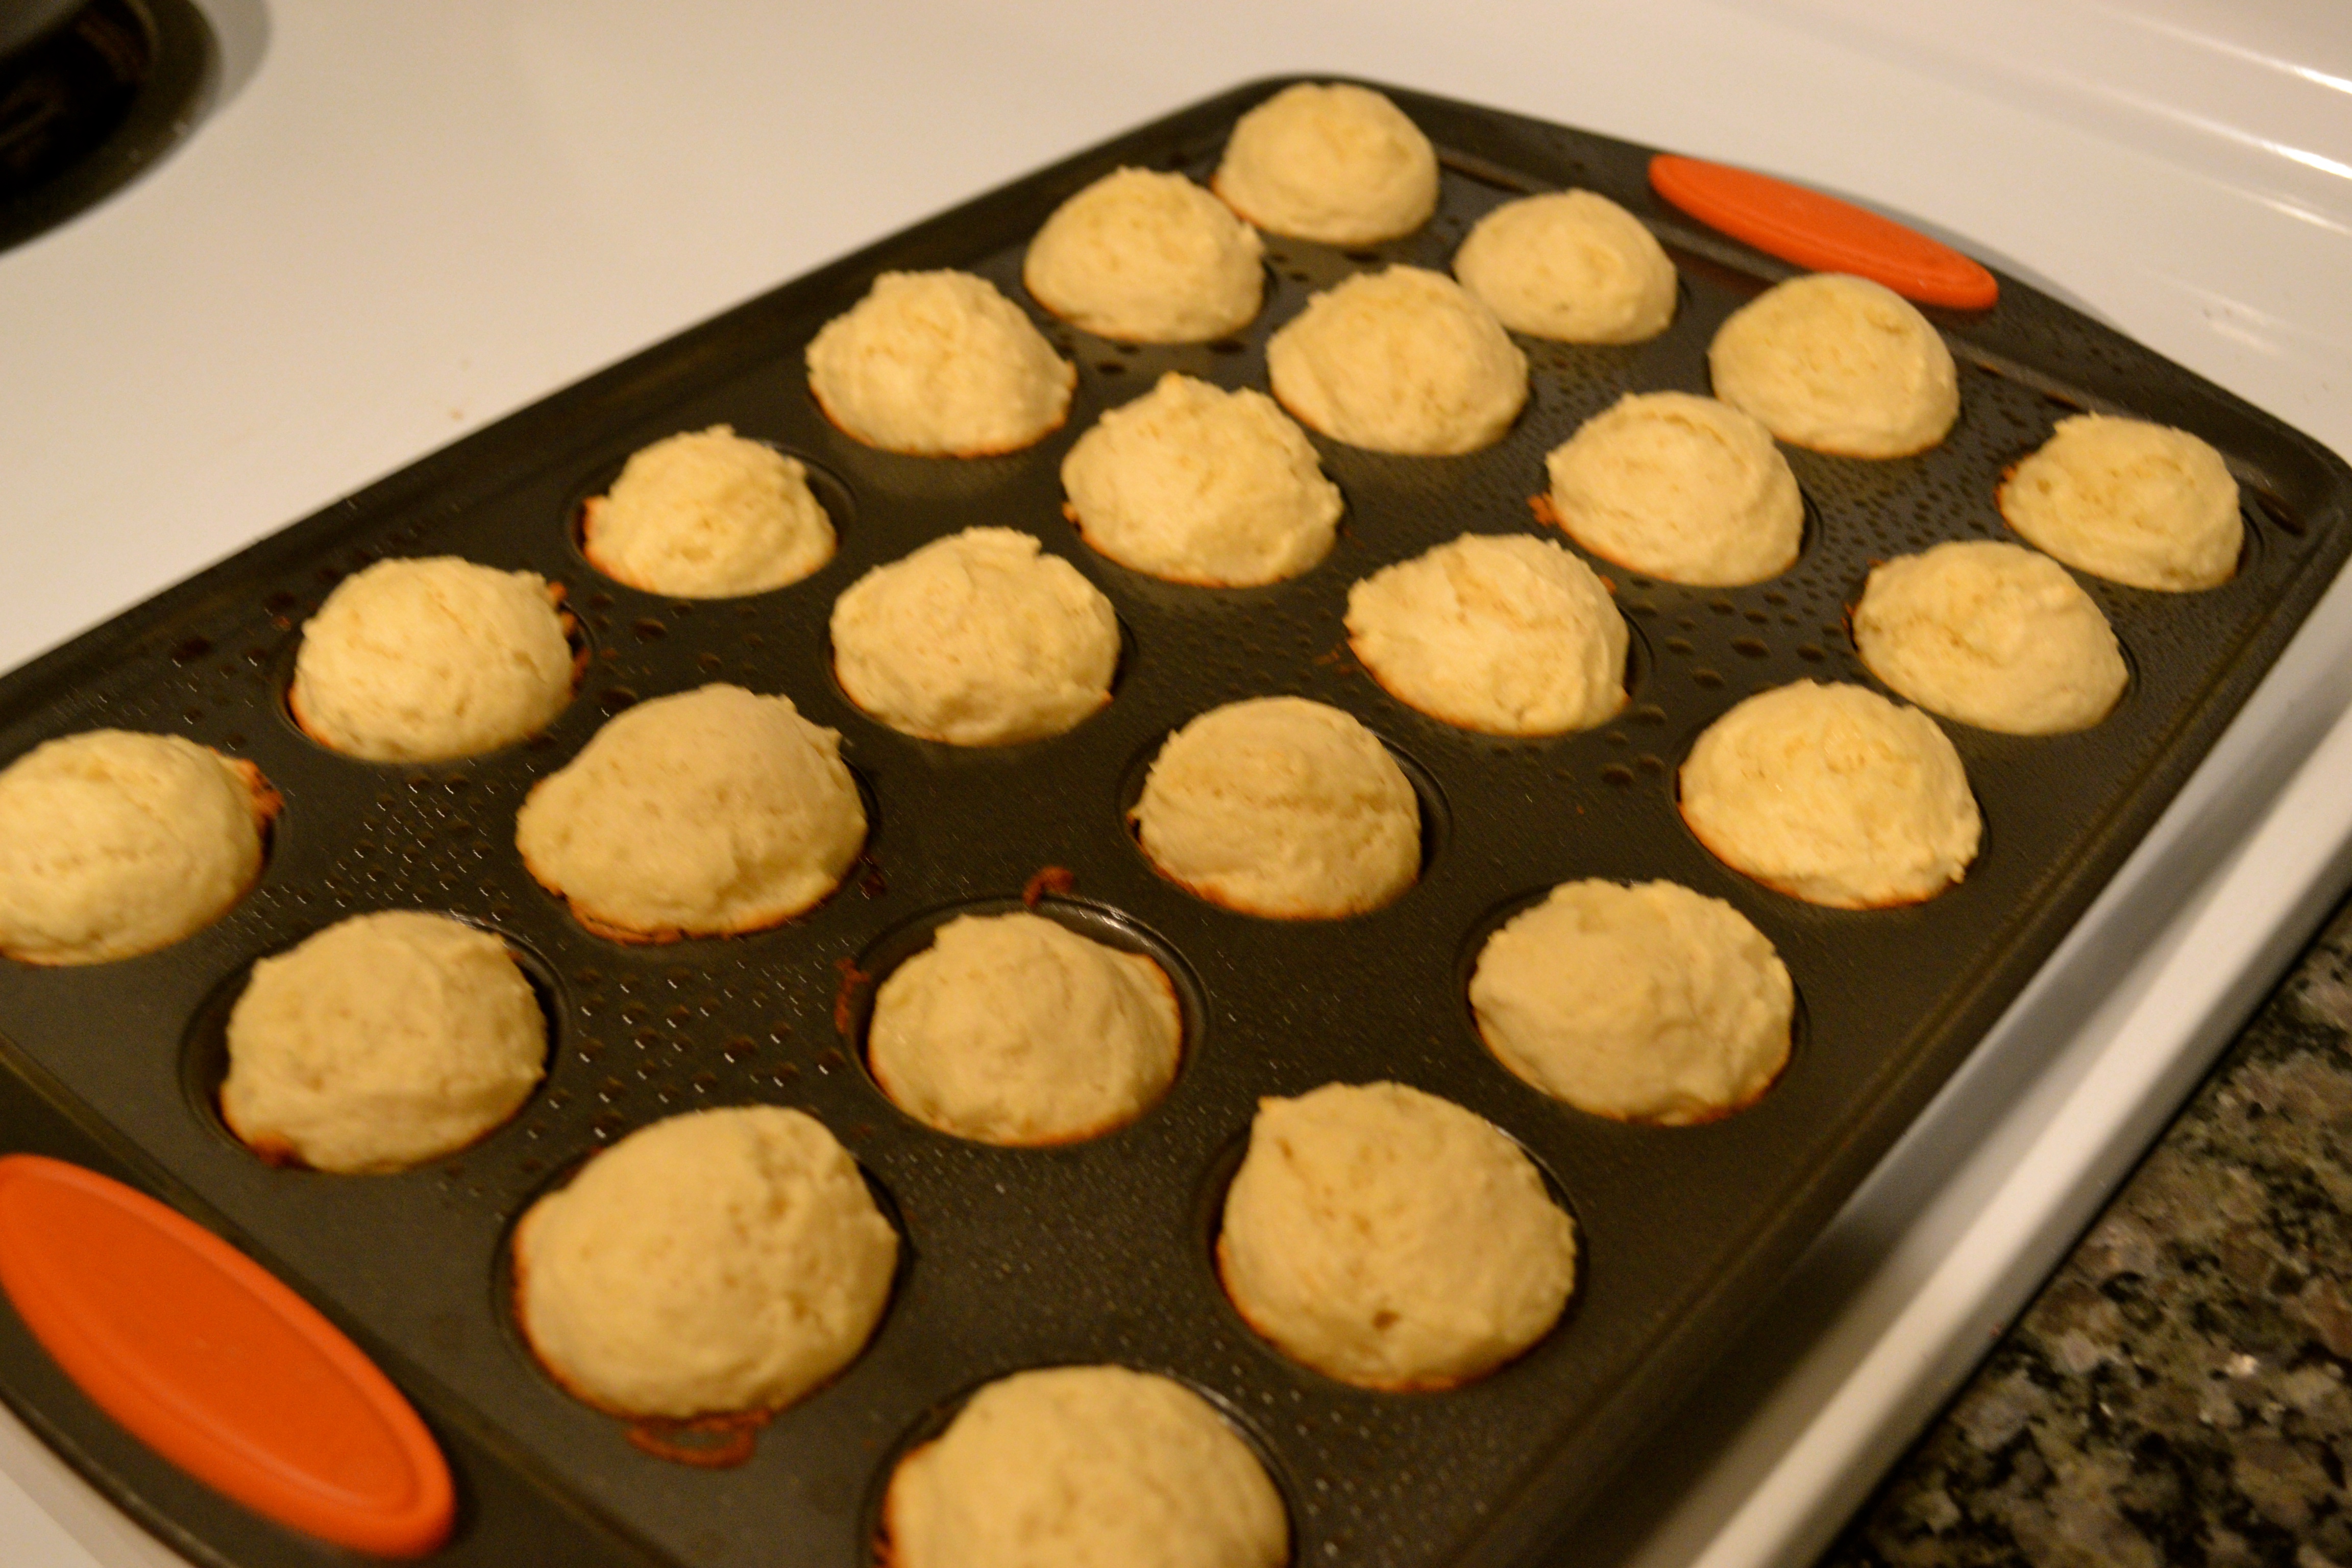
6. Spray two 9 inch cake pans with cooking spray and pour in the batter
7. Bake the cakes at 350F for about 30 minutes or until a toothpick comes out clean.

*Let cakes stand until cool, at least 2 hours*

When the cakes are nearly cool, make the frosting. I made 2 frostings–vanilla and orange. I used the vanilla as the ‘glue,’ and frosted the outside using the orange.

Vanilla Frosting
1/2 cup unsalted butter (1 stick)
1 teaspoon vanilla extract
1/4 cup cream
3-4 cups confectioner’s sugar

Orange Frosting
1/2 cup unsalted butter (1 stick)
1 teaspoon orange extract
1/4 cup fresh orange juice
3-4 cups confectioner’s sugar

1. Whip the butter until it is light and fluffy.
2. Mix in the liquids and confectioner’s sugar until it is at a desired consistency.

DSC_1548

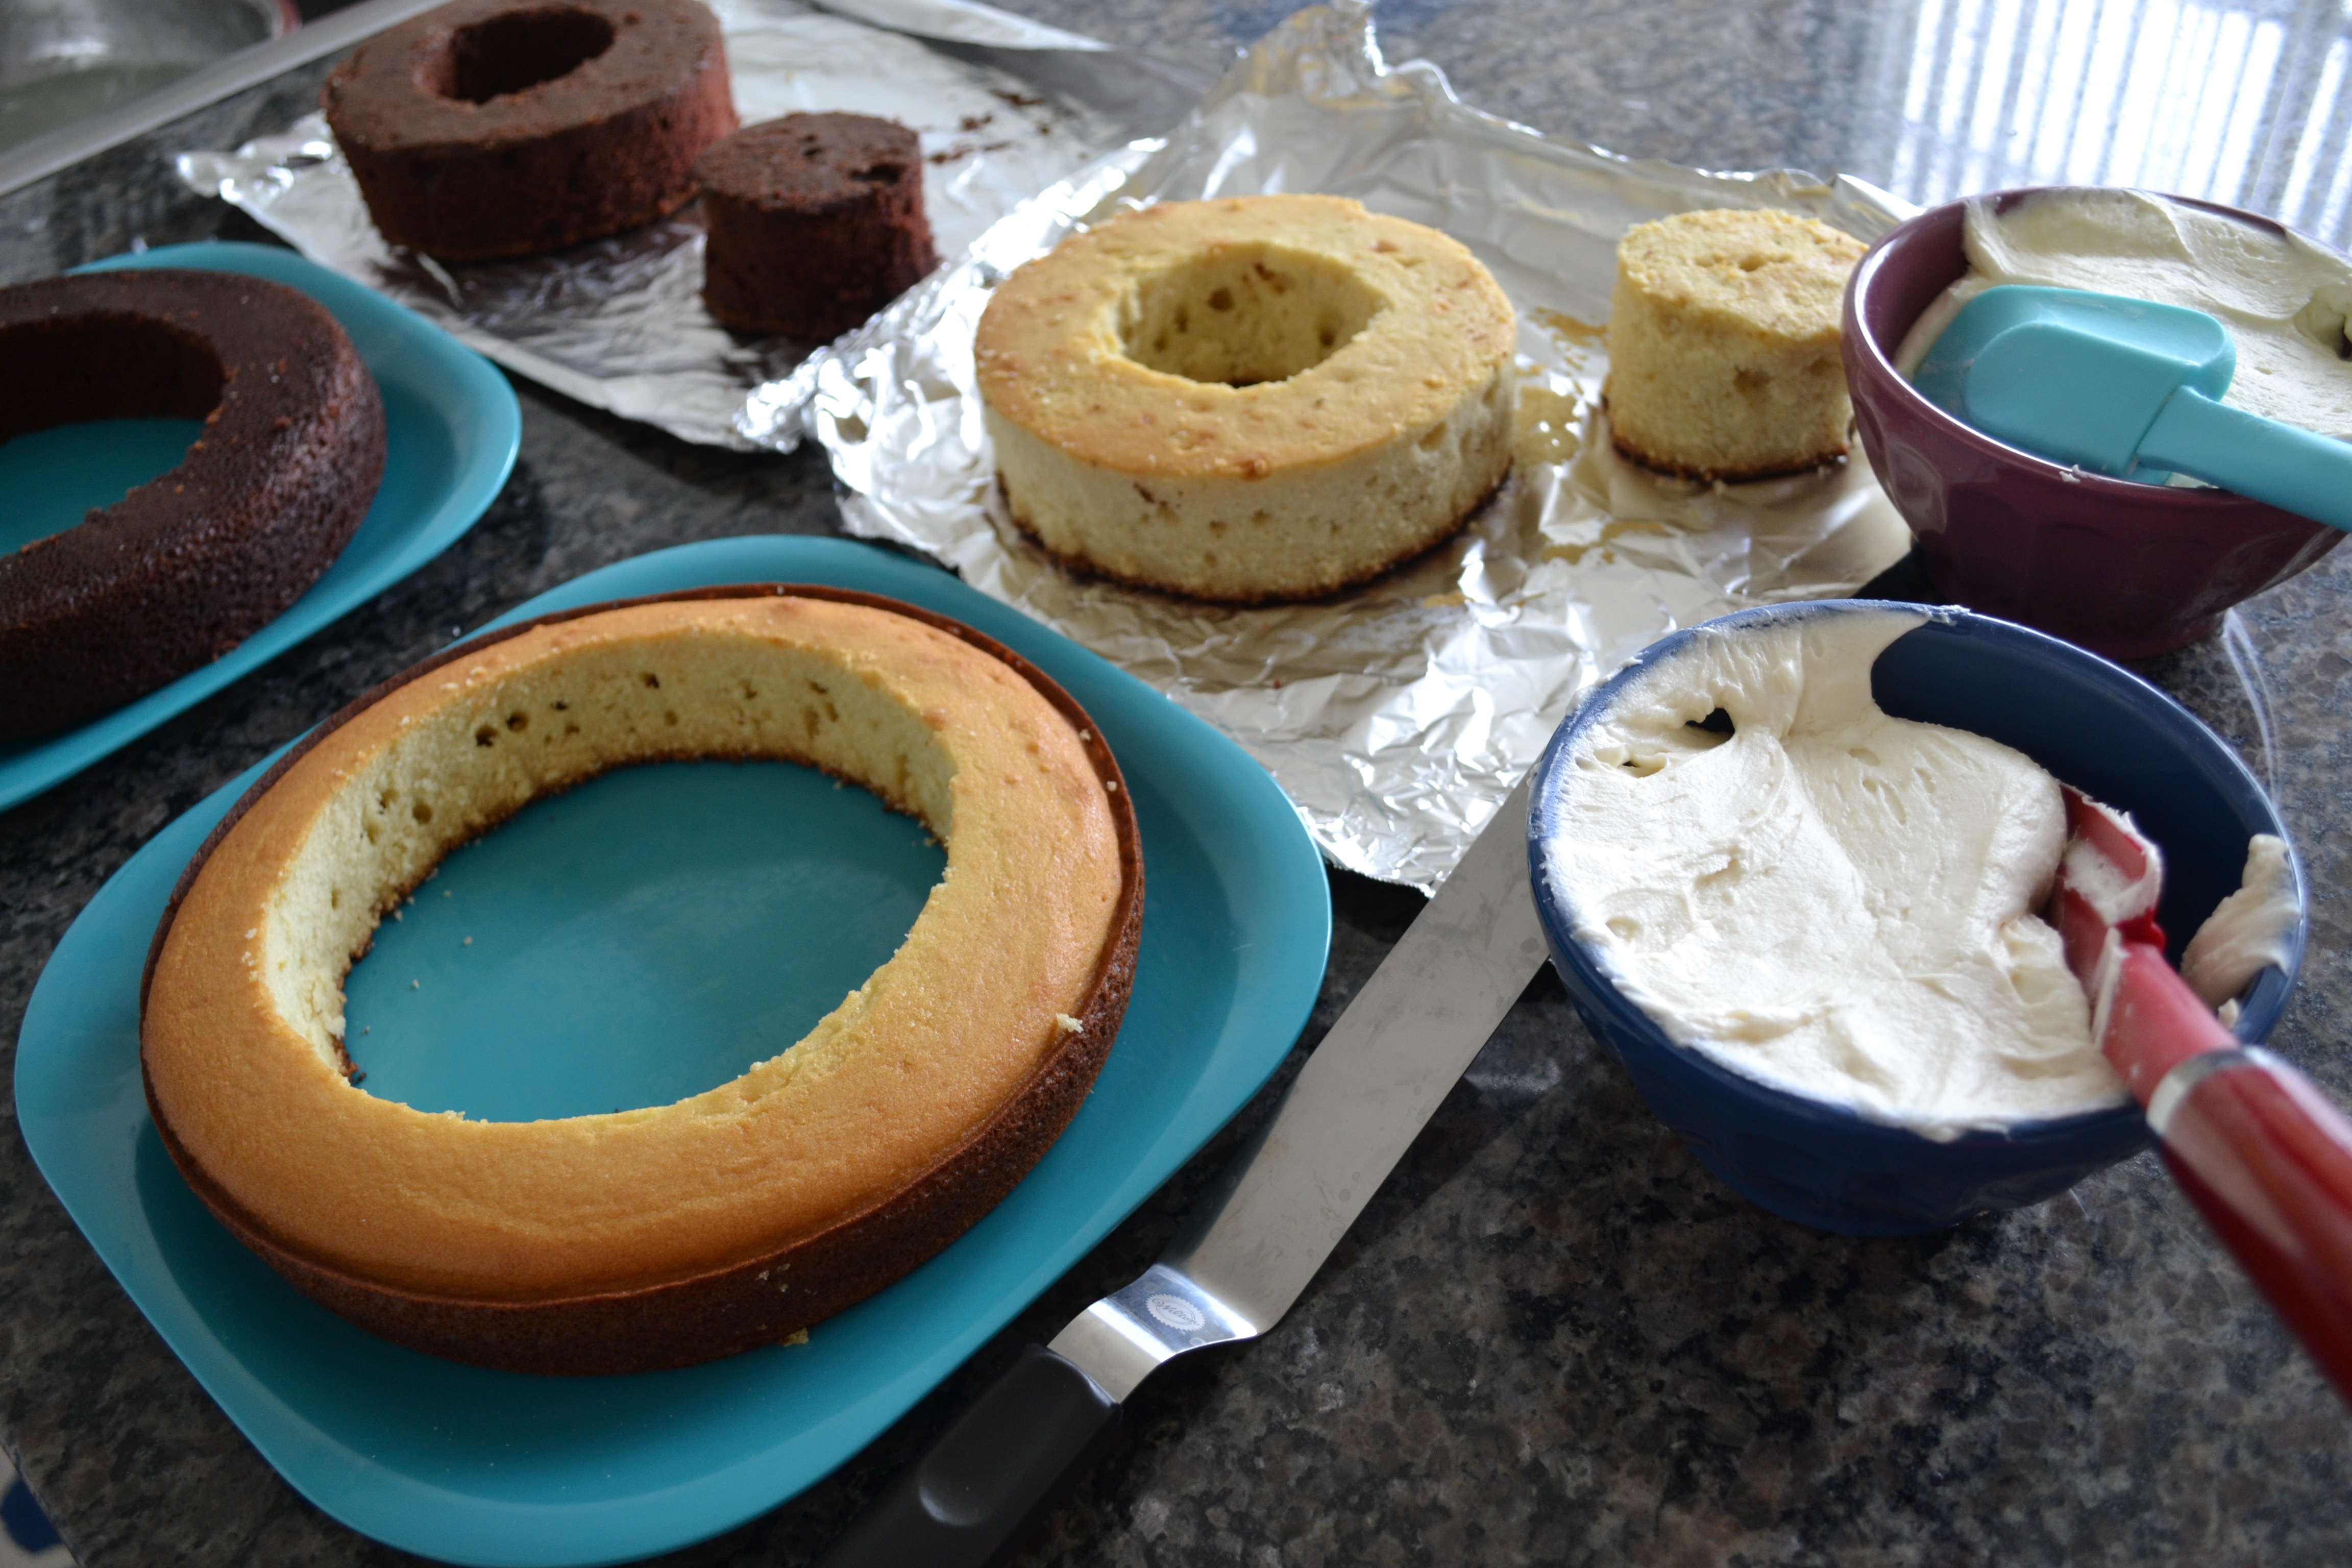
Construction of the Cake
1. Using cookie cutters, create rings in the cake.
2. Take the outer ring, and frost the inside of that ring.
3. Take the second smallest ring of the other flavor, and insert it into the first ring.
4. Continue until you are at the center.
5. Frost the top of the first cake.
6. Repeat to create the second layer of the cake.
7. Put the second layer on top of the frosted layer.
8. Frost the outside of the cake and decorate!

DSC_1549

Advertisement

Vanilla Glazed Donut Holes

Glazed Vanilla Donut Holes

And we’re back! Well, kind of. Today’s post, and the first of 2015, sorry I’ve been slackin’, is not of cupcakes, but of glazed donut holes! Why, you may ask? I recently got Rachael Ray’s mini muffin tray and have been obsessed with making all things mini. Plus, they’re adorable. I also have been craving donuts since having an embarrassingly long conversation about donuts. Side note: thanks Massachusetts for having a Dunkin’ Donuts on every corner to satisfy the desire for donut. I’ve eaten too many in the past week. This is the real reason why I run. Anyway, I digress…

Since I’ve never made donuts/donut holes before, I took a recipe from the Interwebs. But of course, by “took,” I really mean that I started with one and then changed it until it a bit. This recipe is pretty easy to make and is great for if you are hosting people. Bite-sized sweet treats? What could be better?

Now a few tips for making donut holes. ie: the lessons learned:
– The batter is pretty thick and sticky when you try to scoop them into the muffin tin. Try to roll the batter into balls so the donuts actually are round.
– Start making the glaze with 5 minutes left of baking. This allows the glaze to thicken but also remain liquid when you dip the cake.
– Definitely use tongs (or in my case chopsticks) when dipping the cake into the glaze. It’s hot.
– Other tips? Feel free to share! I promise also for more cupcakes in the near future! Yum!

Happy baking!
— JJC

RECIPE

DSC_1493

Cake

⅓ cup (5 Tablespoons) unsalted butter, softened to room temperature
½ cup granulated sugar
1 large egg
1 teaspoon vanilla extract
1/2 cup milk
1½ cups all-purpose flour
1½ teaspoon baking powder
¼ teaspoon salt

1. Preheat oven to 400F. Spray mini muffin pan with cooking spray and set aside.
2. In a large bowl, cream 1/3 cup butter and granulated sugar together on medium speed. Mix in the egg, vanilla extract, and milk. Gently stir in flour, baking powder, cinnamon, and salt by hand. DO NOT overmix, or the donuts will be too dense.
3. Spoon batter into prepared muffin tin – about 2/3 of the way full (It helps if you use two spoons to shape the into balls)
4. Bake for 10-12 minutes at 400F.

With about 5 minutes left, start the vanilla glaze.

Vanilla Glaze

VANILLA GLAZE

2 tablespoons milk
½ teaspoon pure vanilla extract
1 cup confectioners sugar

1. Add milk, vanilla and confectioners sugar to a small saucepan
2. Heat over low-medium heat, constantly stir just until all is well combined.
3. Dip the doughnuts into the glaze, one at a time and transfer to cooling rack.

Glazed Donut Holes

Chocolate and Vanilla Checkerboard Cake

Image

Greetings! It has been quite awhile since my last post. This last semester was quite rough, and ain’t nobody got time for baking…or sleeping for that matter. But now, I have officially finished my undergraduate studies, and it’s time to tackle bigger and tougher projects! For this post, I tried making a chocolate and vanilla checkerboard cake. The first time I saw this kind of cake was at Lady M Confections in New York City. It was absolutely incredible. Naturally, I wanted to try making it–challenge accepted, if you will (HIMYM fans?). 


Image

Checkerboard cake from Lady M Confections

The construction of such checkerboard cake is no walk in the park. If you ask my mother (happy mothers’ day to all moms out there. May your day be filled with joy), I probably spent 20 minutes trying to dissect the cake, but of course, without any success. However, thanks to the internet, I had a plan! I was going to make 2 separate 9-inch cakes–one chocolate, and the other vanilla. I would then use some circular cutters to cut the various rings of the cake to remove and alternate the flavors of the cake and give it the checkerboard look.

Even with this “foolproof” plan in mind, the task at hand was far more difficult than previously imagined. The making of the 2 cakes was an operation that took up the entire kitchen and our dining table.

After the cakes cooled, I took them out of the pan and put them onto parchment paper to start to cut and re-construct the cakes. The issue was that I didn’t have any of the fancy cake/cookie cutters that would form a perfect circle. Instead, I ended up using a lid for a pot, a cup, and…a shot glass to measure the circles. After outlining the print, I used a knife to cut through the rest of the cake. Little did I know, I made the cakes too fluffy! I wonder if it would be better to make a thicker cake so that it isn’t as crumbly when you cut into it and so it will stay together.

DSC_0874
There was quite a lot of “reconstructive surgery” to ensure the cake didn’t completely fall apart, but the frosting definitely stitched up the cake. After putting together the first layer, I put a layer of homemade chocolate buttercream, and then proceeded on the second layer. Most checkerboard cakes have 3 layers, but I decided on 2 tiers for the first try. I was also a bit grossed out by the amount of butter used in the entire cake, but that must be why it’s so delicious, if I do say so myself.

After constructing the 2 layers of the cake, I started to frost it with the buttercream. It definitely was a fun but also super messy experience trying to frost a crumbly cake. But again, the frosting served as a nice glue.

DSC_0881
Overall, the process took nearly 3 hours. It definitely is not the prettiest cake in the world, but it still is quite tasty and a good first attempt. If you are going to make a checkerboard cake/for future attempts, here are a few tips:

– Ensure that you fully spray the cake pan with vegetable oil so that the cakes don’t stick
– The cake should be more of a brownie consistency and not super fluffy. I was having trouble picking up the rings of the cake to assemble them into a pattern. I am still questioning how Lady M has so many checkers.
– It would probably be preferable to find cake/cookie cutting rings so that your rings actually are even. Time to take a trip to Sur La Table?
– I used chocolate frosting throughout the cake, but it might be nice to glue the inner layers of the cake using white or another color frosting to give the cake the “pop” and crisp looking lines. The brown chocolate blended with the cake, so it’s not as clean.

If you have additional tips, feel free to share them!

Happy baking!
-JJC

DSC_0892

Green Tea Cupcakes

DSC_1703

Green tea cupcakes really hit home for me. Not only do I love anything green tea because it is good for the healt, green tea cupcakes were the first cupcakes that I ever made from scratch in March 2012. It’s really something to compare photos from then to now and to see how much I have improved.

This time when I made them, I had the company of my cousin Anna and used some stolen borrowed matcha powder from my sister. Baking alone, for me, is usually a stress-reducing activity (until I realize I have a dozen cupcakes for myself–then it becomes stress-inducing!), but it’s also great to bake with family or with friends.

Matcha powder, as expensive as it is, is such a beautiful powder. It is so fragrant and has a beautiful rich green color–no food coloring was used in the frosting! With the green color, it is also fun to make grass and other patterns. We made both chocolate and vanilla cupcakes with green tea frosting with a surprise inside. I’m usually partial to desserts with chocolate, but both the vanilla and chocolate cupcakes were delicious, so I’d recommend you make both!

Xo,
JJC

DSC_1683

Recipe

Vanilla Cake, yield 8
3/4 cup of all-purpose flour
1/2 teaspoons baking powder
1/4 teaspoons baking soda
1/8 teaspoon salt
1/3 cup of buttermilk
1/2 teaspoon of vanilla extract
1/4 cup of butter, room temperature
1/2 cup of sugar
1 egg

1. In a small bowl, whisk together the flour, baking powder, baking soda, and salt.
2. In a medium bowl, combine the buttermilk and vanilla extract.
3. In a large bowl, cream the butter and sugar until light and fluffy.
4. Add the eggs to the mixture one at a time.
5. Add the flour mixture and the liquids alternately, beating well after each addition.
6. Fill 16 cupcake liners about 2/3 full.
7. Bake at 325F for about 20 minutes or until a toothpick comes out clean.

P1030134

Green Tea Frosting
1/2 cup unsalted butter
2 tablespoons milk
1/2 teaspoon vanilla extract
1/2 cup matcha powder
1 3/4 cup confectioner’s sugar

1. Whip the butter until it is light and fluffy.
2. Mix in the liquids, matcha powder, and confectioner’s sugar until it is at a desired consistency.DSC_1707

Moscato Cupcakes

Moscato

The cupcake was a nice vanilla. Moscato is a very sweet wine, so it provided a nice flavor. I’m not entirely sure if I will make this again. I have a lot more recipes to try before re-working this one again!

Recipe from Brooke-Bakes

Cake
The cake was an interesting texture with a crunchy outside. Since the moscato burned out in the oven, I used an apple corer to create a crater in the middle of the cupcake and added one teaspoon of moscato. Then I re-covered the cupcake.

Frosting
Moscato is so sweet that the frosting tastes like vanilla. No matter how much you add, the flavor will be a creamy vanilla.